

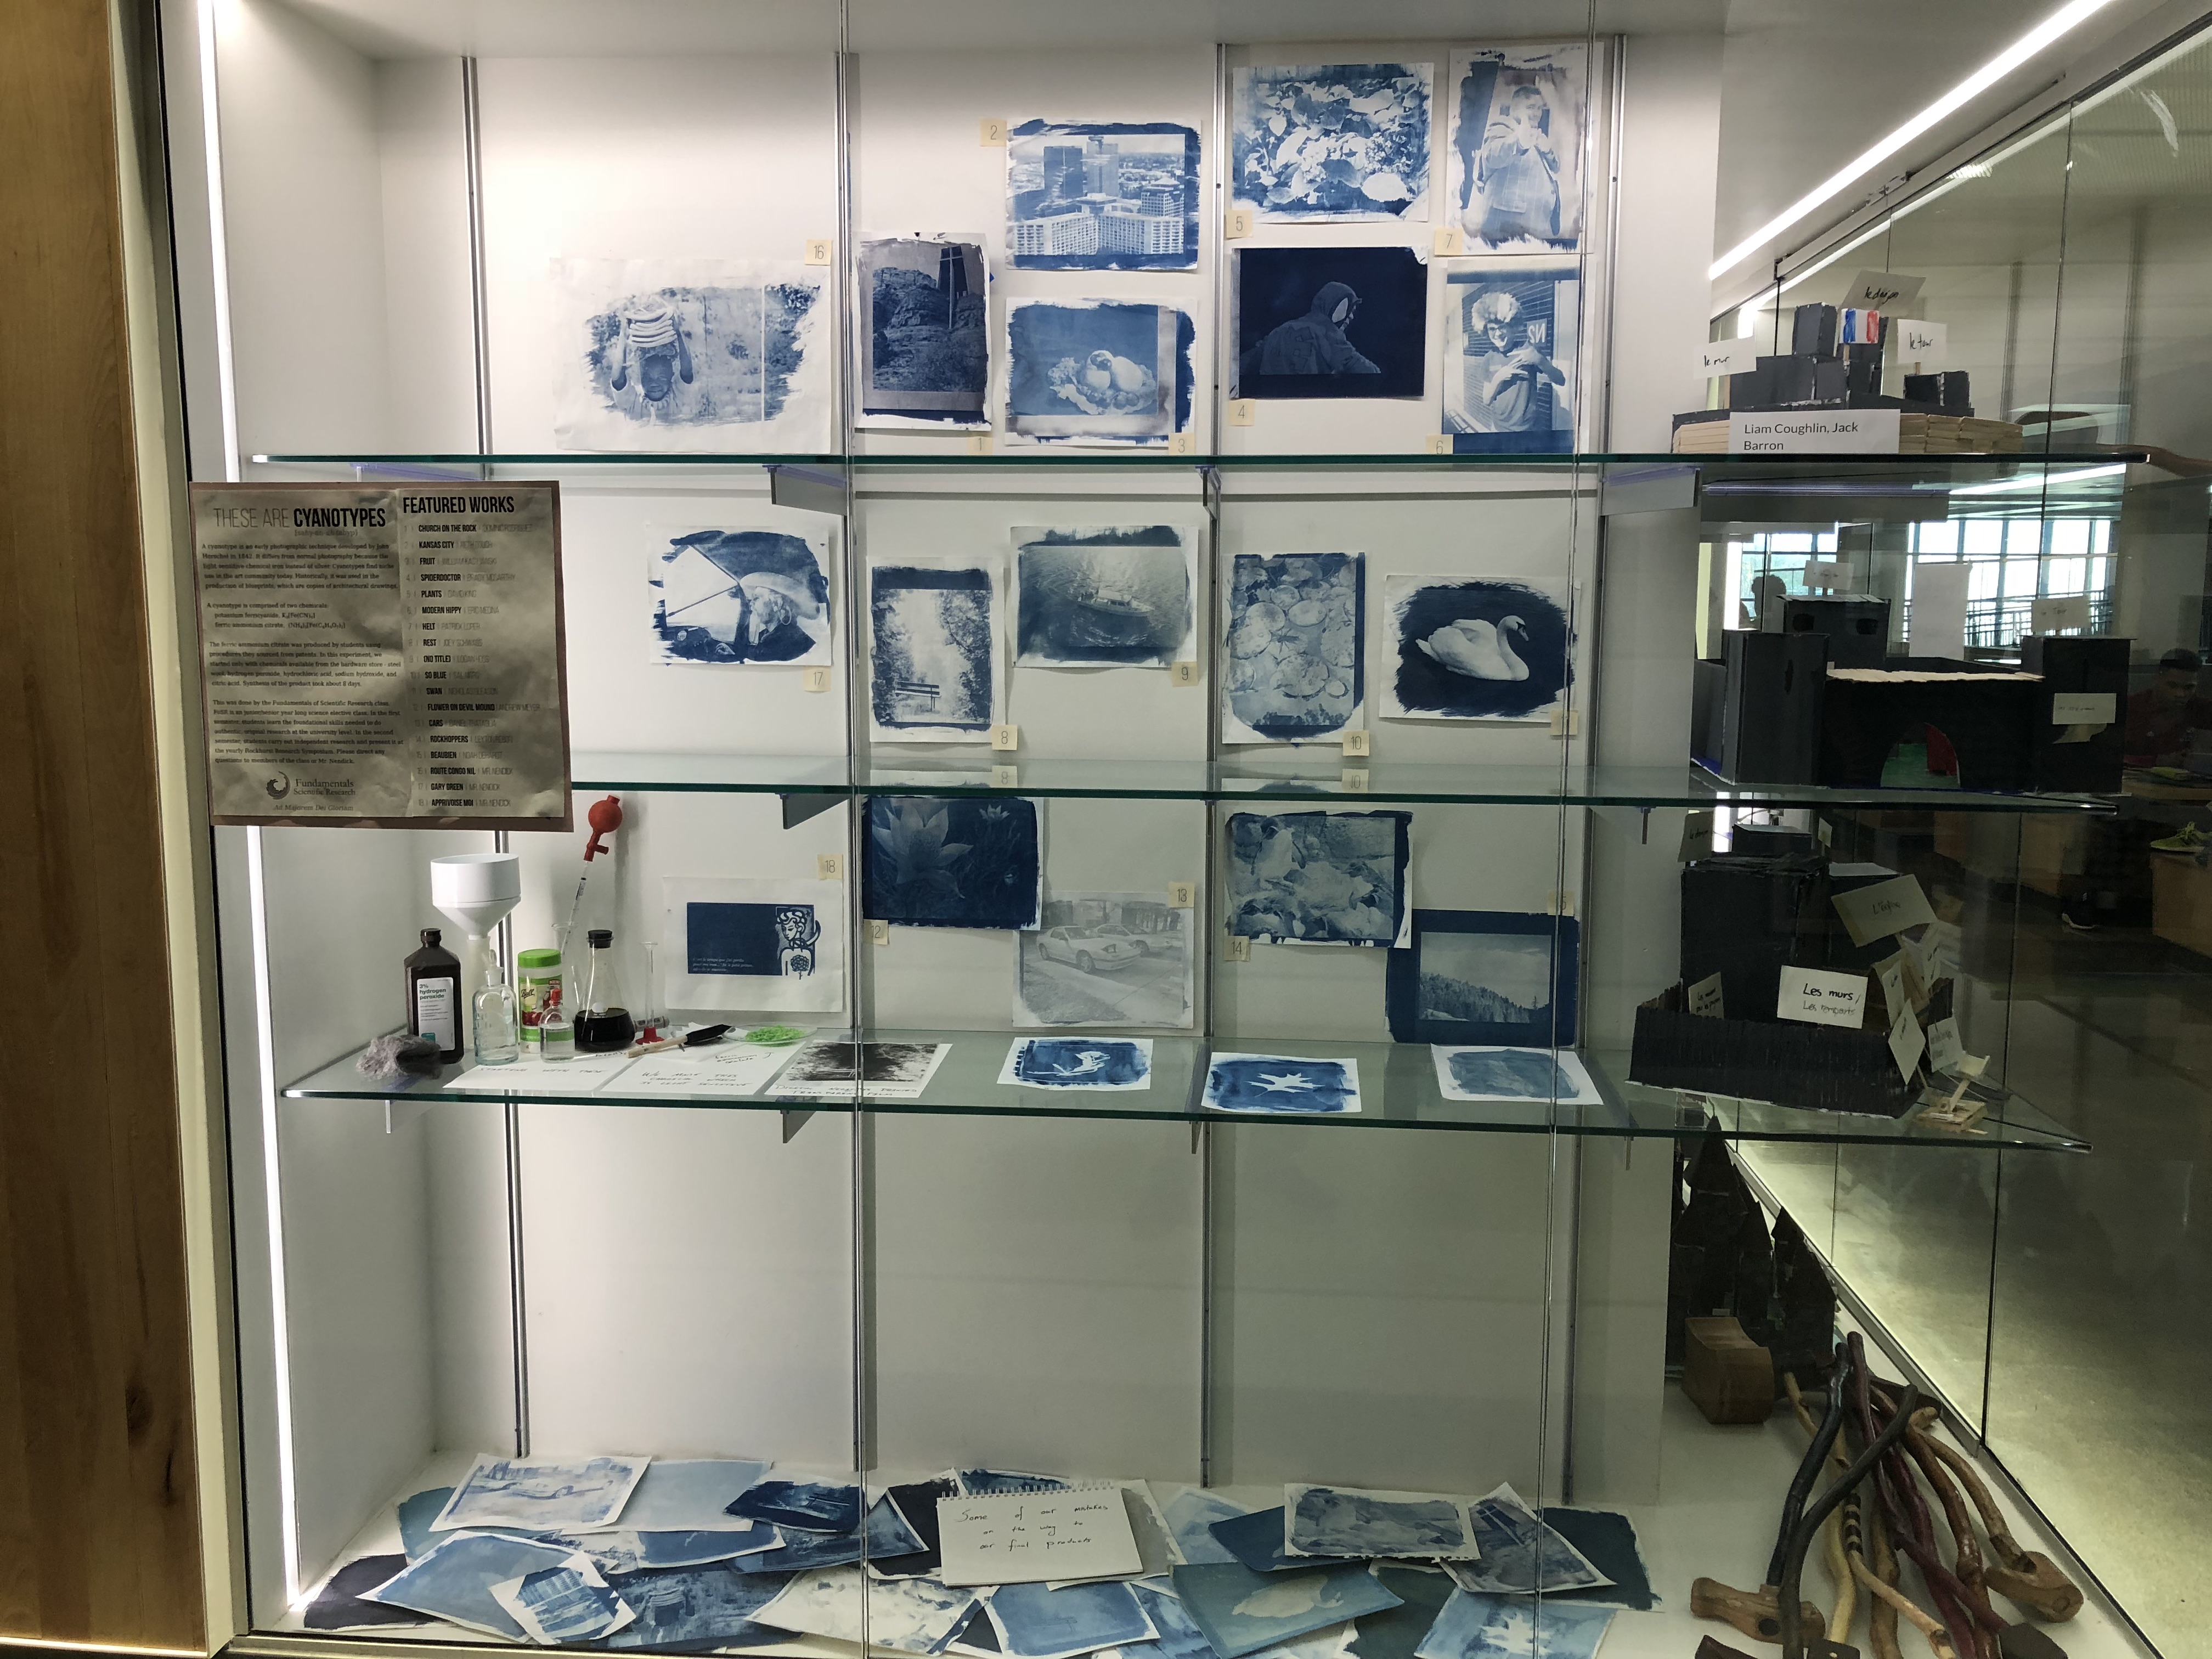
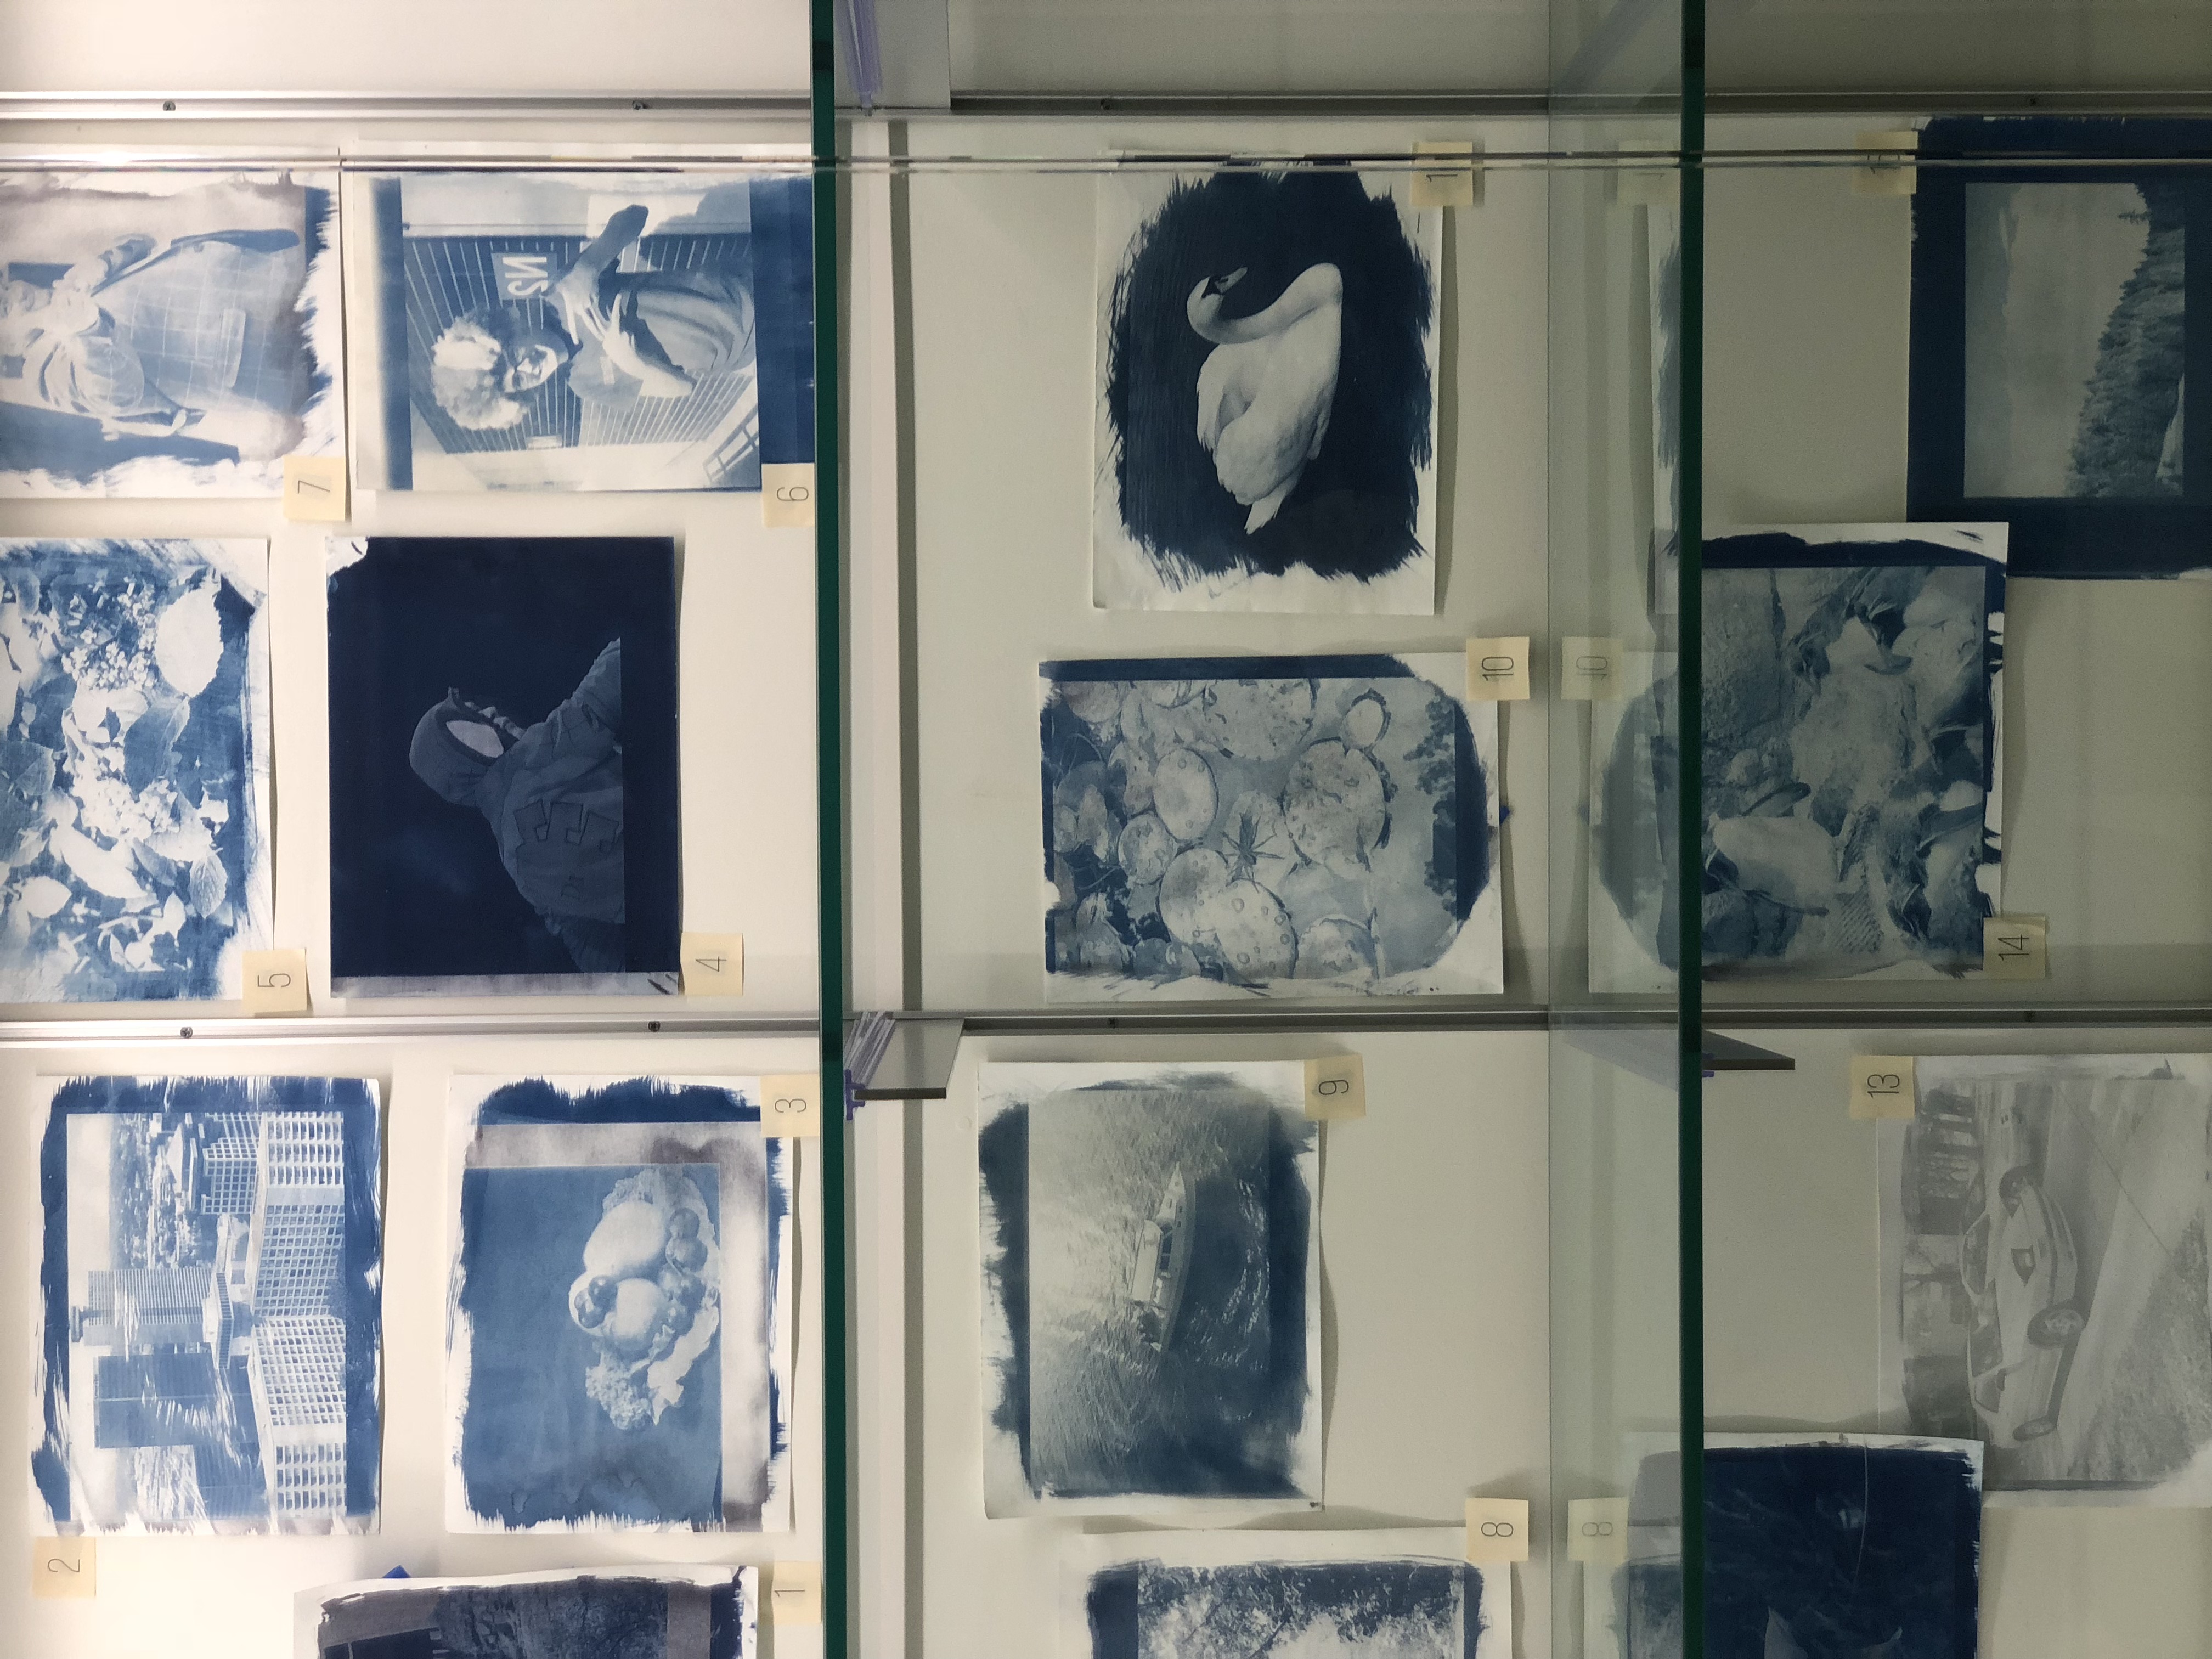
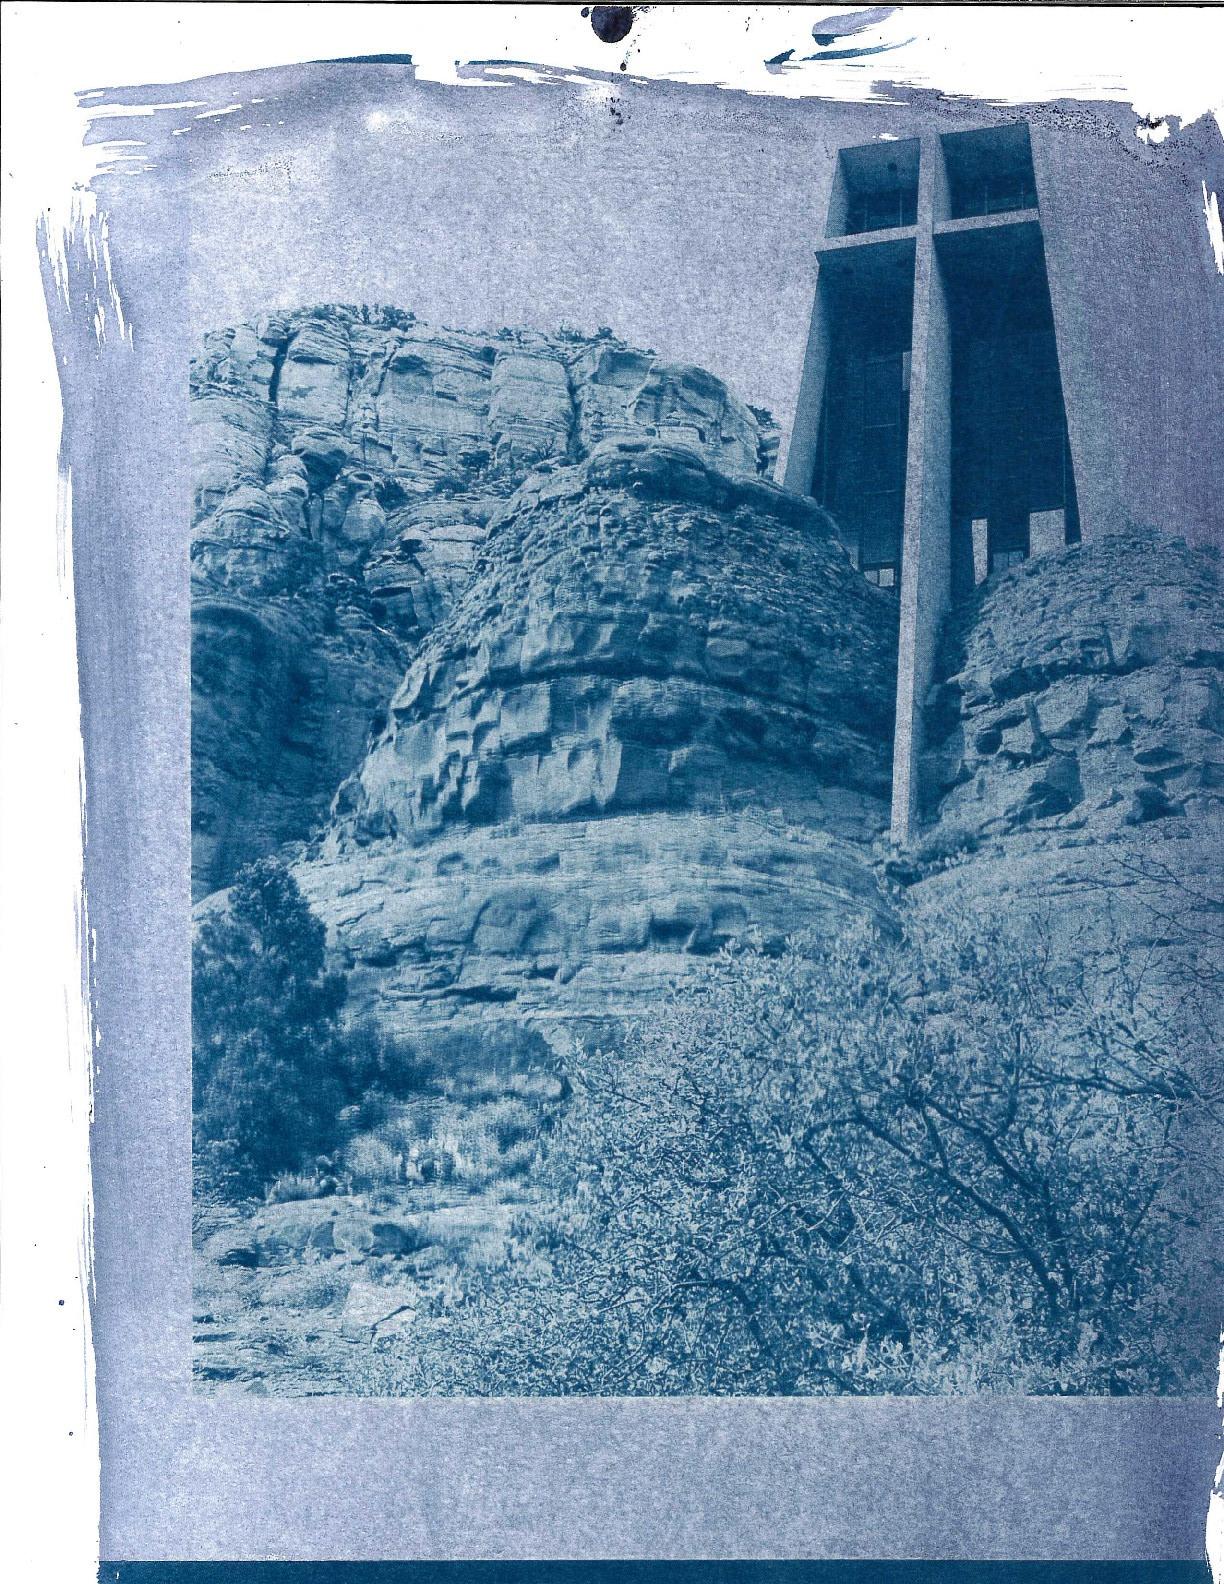
This year, the Rockhurst High School science department launched a new course entitled, “Fundamentals of Scientific Research” (Read Course Description Here). The students’s first quarter project featured student made cyanotypes, now on display in the Rockhurst Learning Commons. Enjoy the student reflections about the project below.
We made a cyanotype using steel wool, hydrochloric acid, and all of my sweat and tears. With the help of our fearless leader, Mr. Nendick, our intrepid group of plucky researchers synthesized FAO (Ferric Ammonium Oxalate), a light sensitive chemical, to create an original cyanotype from “scratch.” Perhaps unexpectedly, the longest part of the process was the sheer amount of research that was involved before we even touched a beaker. Before we could even begin, we had to scour thousands and thousands of patents looking for something that we thought could be replicated. Once we finally produced FAO, the work in the darkroom became that much more exciting, as I knew we were close to an end product. We painted the FAO solution onto watercolor paper and waited for the solution to dry. Then, the printing process was relatively simple. We pressed our negatives over the paper using glass. We then exposed our print to sunlight over varying times of two to thirty minutes to develop the picture. Finally, the print was placed in water and acid to prevent further development and sharpen the colors, respectively.
Our entire class’s solutions being destroyed because someone left the lights on in the darkroom overnight was, surprisingly, not even the biggest failure of the project.
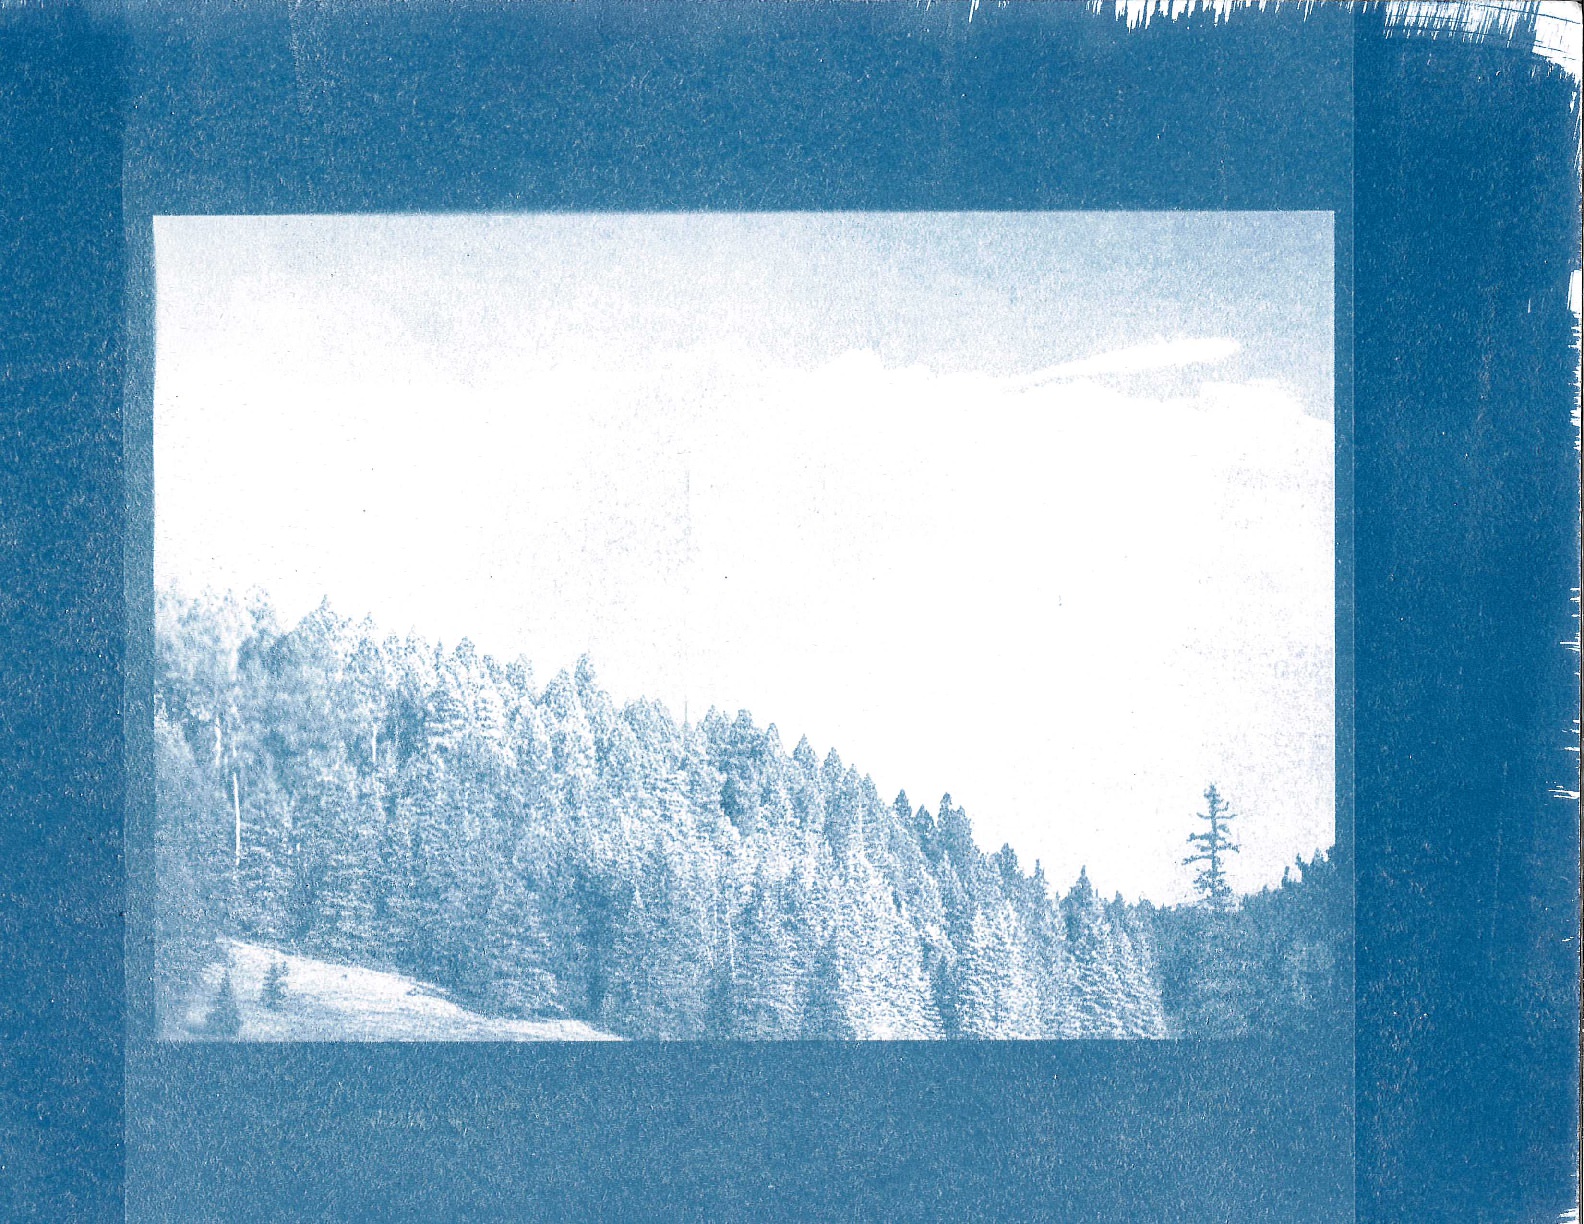
The process of creating a cyanotype from start to finish provided an insight into the process of a complete research project. It was a very rewarding experience and showed me that while research can be a long and arduous process, it is not out of reach. Initially, the task of using patents to write a procedure was extremely daunting, but once the process got underway, it quickly came together. Easily the most difficult part of the process, writing the procedure with enough specifics to convey what exactly we needed to do was my first real test in formulating a research project. Everything did not go as smoothly, though. Many aspects of the process were difficult, and not all worked as planned. Our entire class’s solutions being destroyed because someone left the lights on in the darkroom overnight was, surprisingly, not even the biggest failure of the project. One of the most exciting moments, however, was seeing my print develop into a recognizable picture of a the Philmont mountain range. It was a moment which validated all of the struggles we had to overcome. All things considered, the process went rather smoothly when considering the complexity of the science we performed. It has been, and will continue to be, one of the coolest and most memorable things I have done at Rockhurst.
When I accepted my assignment to create a cyanotype, I did not know what a cyanotype was or how to create one. This state of unfamiliarity was soon relieved as I came to understand that a cyanotype is a photographic blueprint. With the guidance of Mr. Nendick and the rest of the class, I began to research how to make a cyanotype by looking through patents and video resources on YouTube, such as NileRed. After researching, my group and I created a step by step procedure in order to create a cyanotype from scratch.
First, we began by making sure every member of the group had on proper safety equipment for this lab. After all necessary safety precautions were taken, we mixed a nearly one to one solution of water and hydrochloric acid into a beaker, into which we placed 50g of steel wool. The solution had a greenish tint and was allowed to sit for twenty four hours. Upon returning, the solution had turned lime green with a grey solid lurking in the bottom. In order to remove the solid from the solution, the solution was poured into a vacuum filter. After the solution was filtered, an equal amount of sodium hydroxide was added, which turned the solution a deep red. A day later, the solution had separated into water and a precipitate, and the excess water was poured out without losing any of the precipitate. Then, the precipitate was poured onto a coffee filter and dried over the span of several hours. After the precipitate dried, it was placed in a beaker that had a one to two solution of citric acid and water and was brought to a neutral pH of 7 with a NH4OH. As the two chemical were added to the beaker, we stirred the solution for fifteen minutes, while it was being heated. Once the solution was completely mixed, we poured it into a glass dish and it was allowed to sit for twenty four hours. Upon returning, the gooey brown product was scraped out of the glass dish and placed in a beaker. Finally, we added potassium ferricyanide and our emulsion was ready to spread on watercolor paper, place a negative on top, and develop in the sun.
Personally, I thought this was one of the most enjoyable labs I have ever done in a science class.
Personally, I thought this was one of the most enjoyable labs I have ever done in a science class. Before this lab, I did not know much of anything about photography or how to make my own print. This surprised me because I did not expect to enjoy this lab at all. After the initial research, the project was very straight forward as I simply followed the procedure that my group created before beginning the lab. The most difficult part of the lab was actually making the cyanotype and getting a good looking print by correctly exposing the negative. I don’t think that any part of this lab was truly awful or unbearable. Overall it was very satisfying and rewarding to create a cyanotype entirely from scratch.
Comments